
Installation Guide
Visit our full site at wallwell.shop for panels, trim, and corners. WallWell PU faux stone panels are built for DIY installation — no mortar, no contractor. Fasteners vary by wall type, so find your surface below before you start.

Installation Materials by Wall Type
Stucco Walls
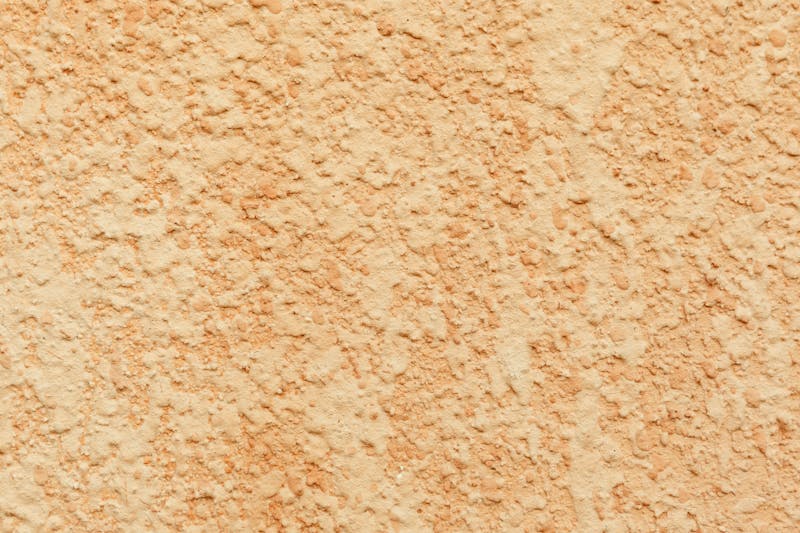
Required materials:
- Heavy-duty construction adhesive — Loctite PL Premium (Home Depot)
- Screws (pre-drill with a slightly smaller bit first) — choose one:
- 1/4" stucco anchors (Home Depot), or
- 3" deck screws (Home Depot) (must penetrate through stucco and secure into inner sheathing)
Drywall
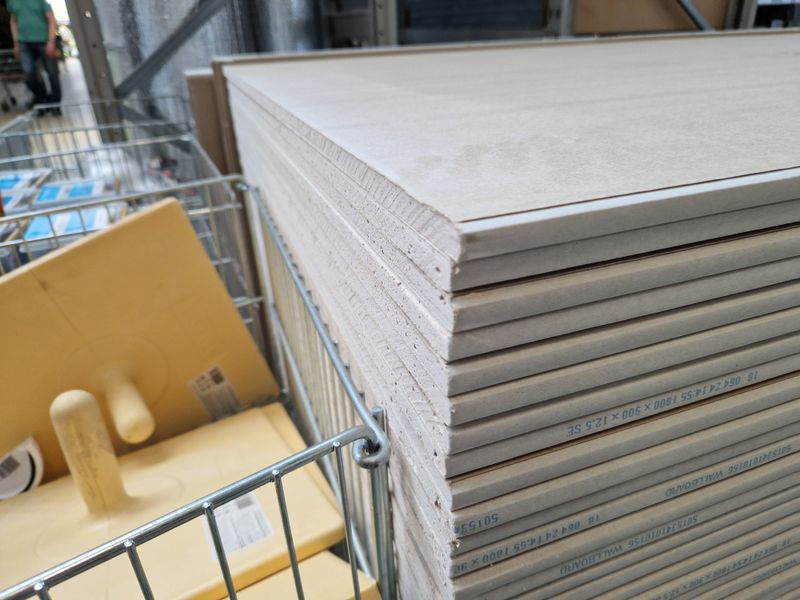
Required materials:
- Heavy-duty construction adhesive — Loctite PL Premium (Home Depot)
- Self-drilling drywall anchors and screw set (#8 x 1-1/4") — E-Z Ancor drywall anchors (Home Depot)
Concrete / Brick Walls
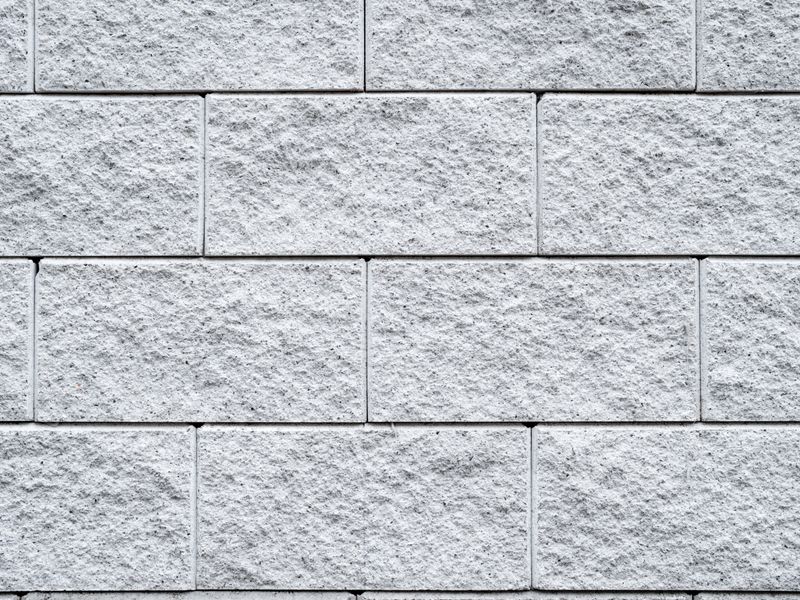
Required materials:
- Heavy-duty construction adhesive — Loctite PL Premium (Home Depot)
- Pre-drill with a slightly smaller bit
- Flat-head concrete screw anchors (3/16" x 1-3/4") — Tapcon concrete anchors (Home Depot)
Wood Panel / Plywood / OSB Walls
Required materials:
- Heavy-duty construction adhesive — Loctite PL Premium (Home Depot)
- Wood screws (#10 x 2-1/2") — shop wood screws (Home Depot)
Metal Stud Walls
Required materials:
- Flat-head self-tapping metal screws (#8 x 1-1/2") — shop metal screws (Home Depot)
Exterior Walls / Insulated Wall Systems
Required materials:
- Heavy-duty construction adhesive — Loctite PL Premium (Home Depot)
- Pre-drill with a slightly smaller bit
- Deck screws (length must penetrate insulation and anchor into the inner structure) — shop deck screws (Home Depot)
Tile / Glass
Required materials:
- Heavy-duty construction adhesive — Loctite PL Premium Max (Home Depot)

Installation Steps
- Prepare your tools: electric drill, saw, level, measuring tape, marker, and touch-up paint matching the panel's main color.
- Determine installation sequence: install panels from bottom to top, and from left to right.
- Apply construction adhesive: evenly apply adhesive to the back of the panel, with additional dots around the edges for extra support.
- Secure the panel: precisely align the panel to the installation location, then drive screws into the tongue (groove) section — make sure screws are completely concealed by the next panel for a seamless finish.
- Final touches: after installation, use color-matched caulk or sealant to fill screw holes and joints. Touch up any scratches with paint in the panel's main color to improve appearance and water resistance.
Installation Tips
Cutting tips: After cutting panels, apply touch-up paint to the cut edges to maintain consistent overall color.
Screw placement: If you must place screws on the panel's front surface, put them in the main color area. That way, only touch-up paint in the primary color is needed for repairs — no need to prepare paint for minor accent colors.

Installing Near a Fireplace
WallWell panels can be installed around a fireplace as long as they stay a minimum of 6 inches from any open flame and never make direct contact with flames or embers. A simple check: with the fireplace running, hold your hand where the panel will go. If you can comfortably hold it there for 10 seconds, that spot is fine to install on.
Questions about your specific project? Contact us or stop by our El Monte, CA showroom — we're happy to walk through it with you.